There are two ways a template can be distributed.
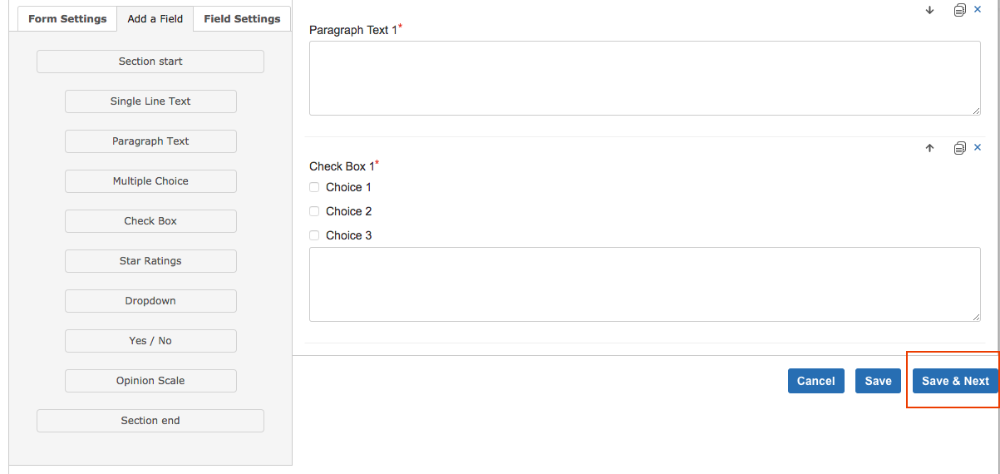
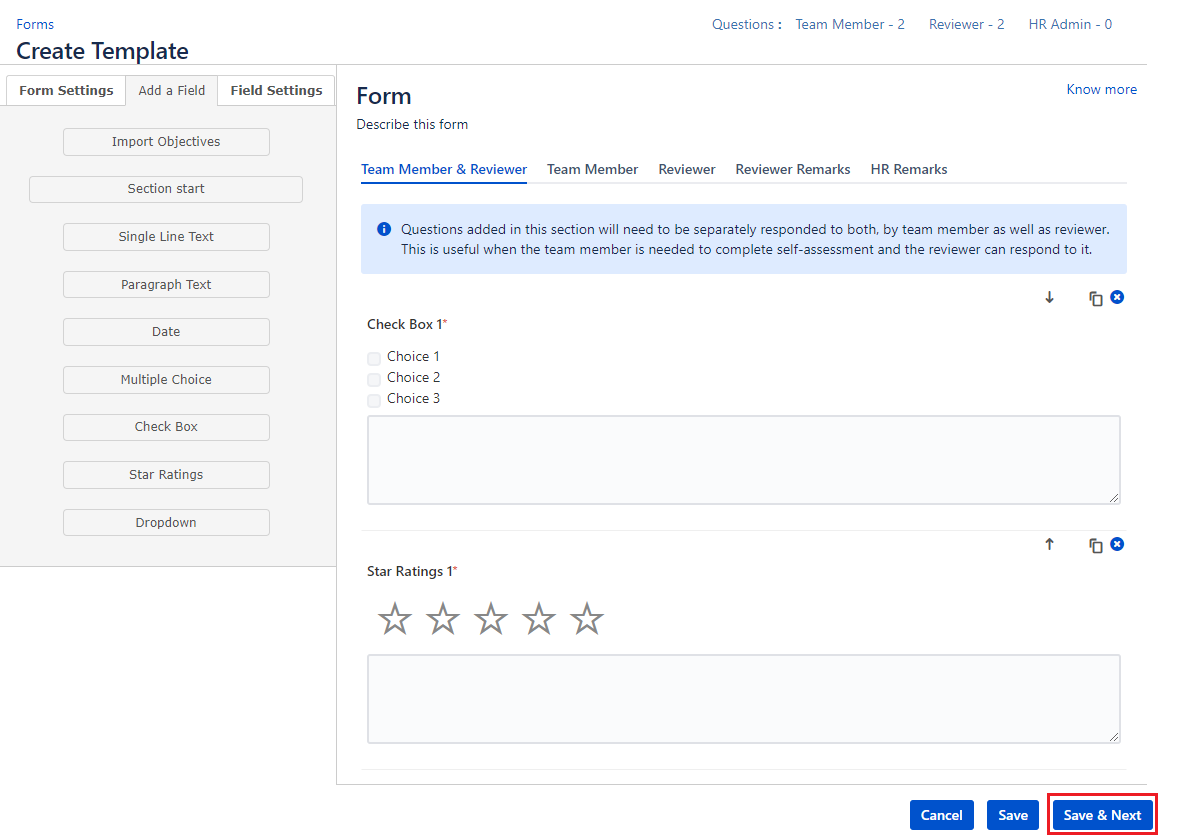
While designing the template if you click on 'save & next', you'd be automatically navigated to distribute page.
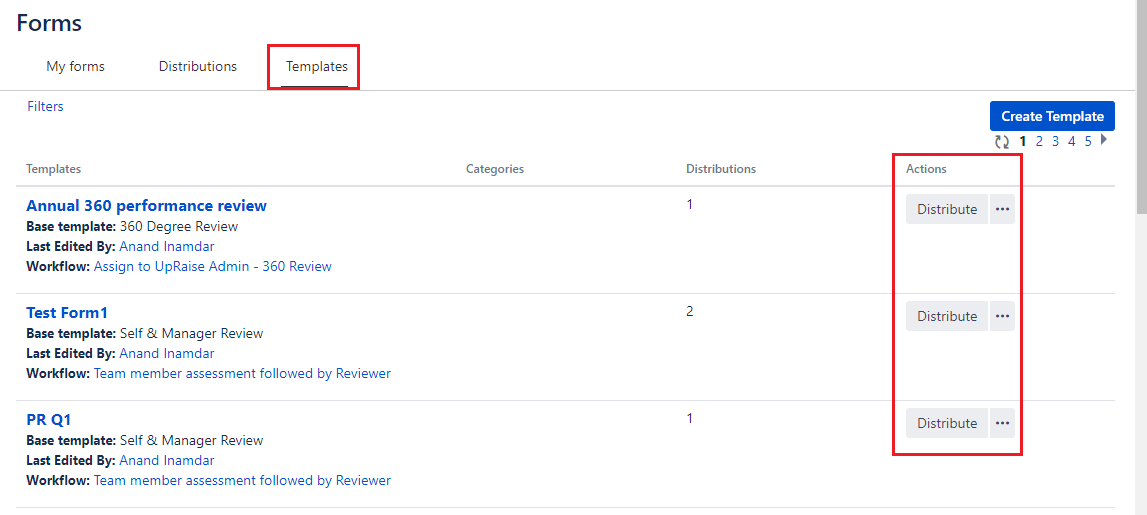
or you click on 'distribute' button for every template on 'template' listing page & would be brought to distribution page. 
Distribution settings
| Note | icon | false
|---|
From version 3.7.3.1, distribution settings function is improved and given a complete completely new and organised organized look. |
Click on every section for distribution settings.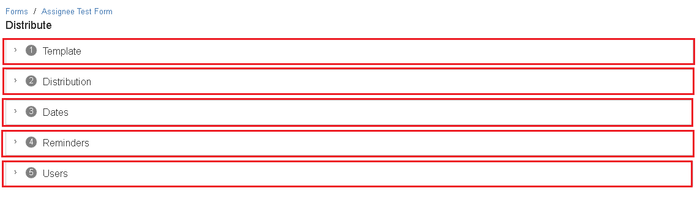
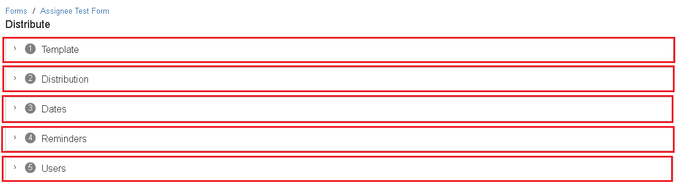
Brief description of all parameters in all above sections
Template
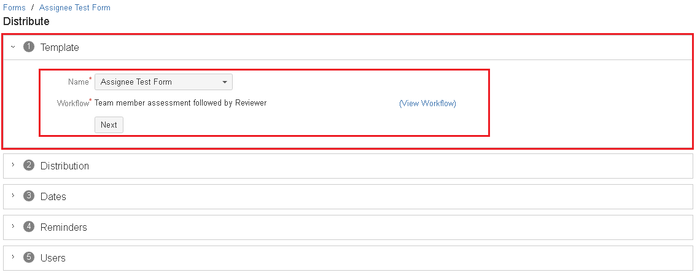
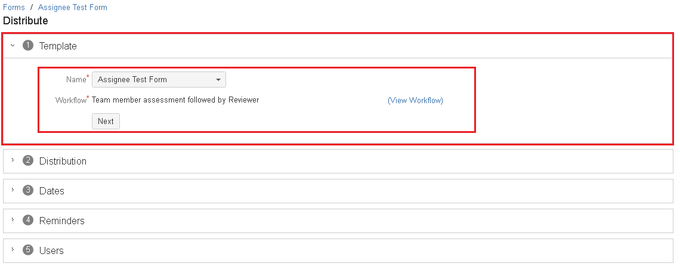
Template name - Select a template from the drop-down list. This list includes all templates.
Worklflow - This is a read-only parameter & reflects the workflow that was selected at the time of template creation.
View workflow - Click on this link to see workflow diagram/image.
Next - Click to move on to next section.
Distribution
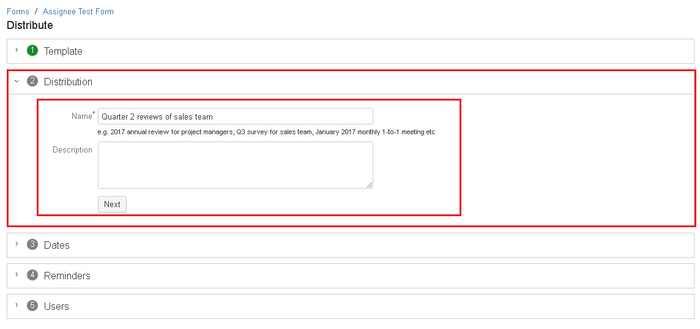
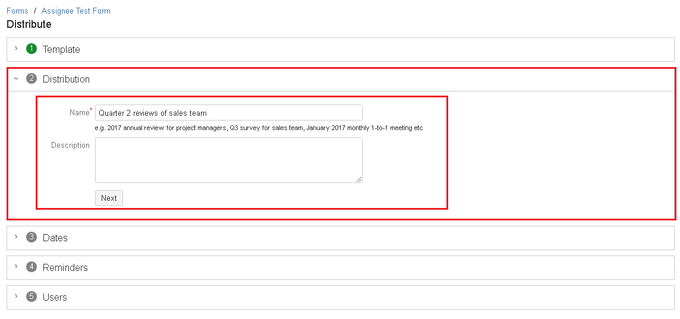
Name - Name of the distribution e.g. Quarter 2 reviews of sales team. Mandatory.
Distribution description - Additional information about the distribution. Optional.
Next - Click to move on to next section.
Dates
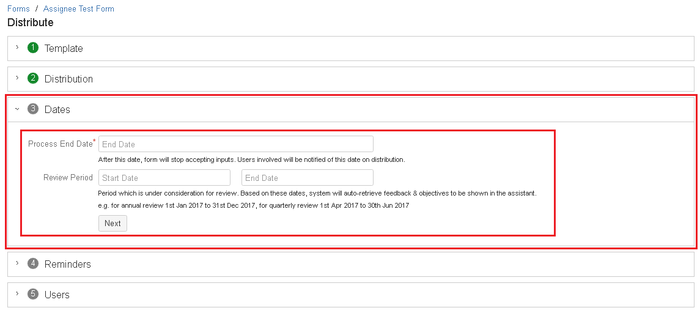
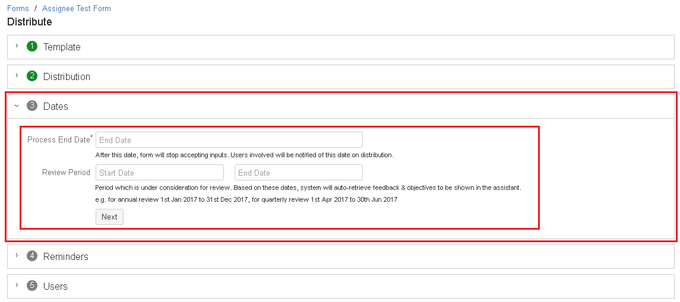
Process end date - This is the date on which forms should be completed latest. This date is mandatory as it is used by the system to send email notifications & reminders to users. Form will be closed automatically on this date.
Review Period - Start date and end date. e.g. For Q2 review, this would be, 1 Apr to 30 June. Optional.
Automatically close the distribution - This attribute is deprecated from version 3.7.3.1.
Next - Click to move on to next section.
Reminders
| Info | |
|---|---|
| false | This function has been added in 3.7.3.1 version. This section allows you to add email reminders (maximum 9) to prompt users to complete the form who are involved in the process and have not completed the form. Click on to get more details about adding reminders. |
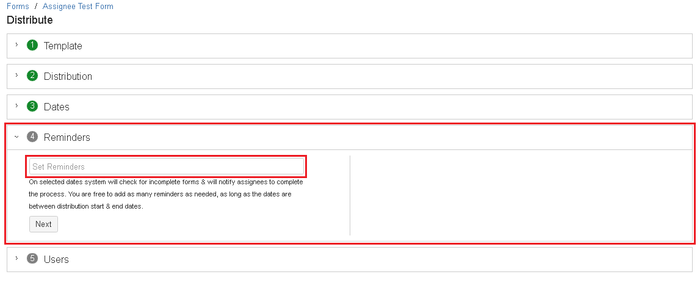
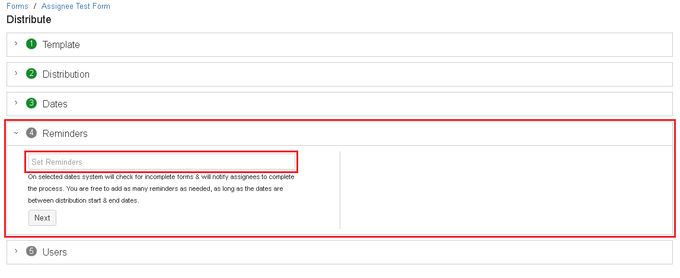
Click on set reminders field and and add dates to send email reminders.
Users
One can do user selection with two different ways. Clicking on '+' allows adding a combination of users one by one. Whereas clicking on 'magnifier / search sign' allows adding bulk users in distribution using different search parameters. 
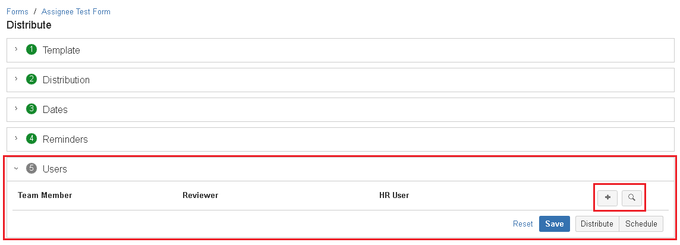
Team member - Team member is the user who is being reviewed.
Reviewer - The person who is going to respond to 'reviewer's questions'. Typically this is the manager of team member, thus as soon as user is selected we automatically set this to his manager from Employee SuccessUpRaise. But of course, this can be overridden.
HR user - We default this user to the user who is distributing. Because in an ideal world, the HR user is going to distribute forms for the users who are his responsibility. But again, this can also be overridden so that any Employee Success UpRaise admin or super admin can be marked as HR user.
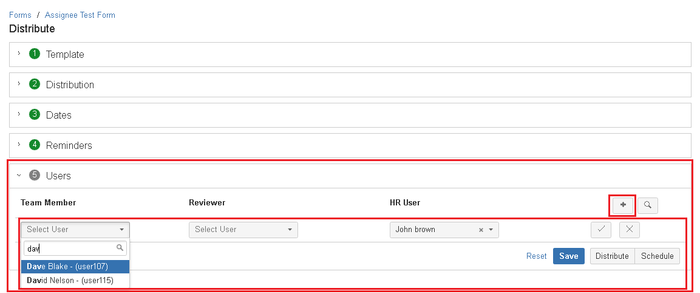
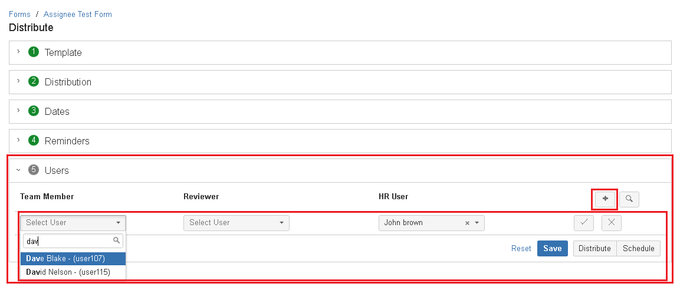
Adding user pairs manually
One can add user pairs manually to this distribution set. This covers all possible cases of one team member reporting to multiple managers or change in reporting structure midway through review period etc.
Selecting users in bulk
Clicking on 'search' button opens up the bulk user selector. One can check the first box that exists before user column to select all users. For the select set of users, you can check boxes randomly or use search options like 'user containing text, has manager, has designation, has team' to select the specific set of users.
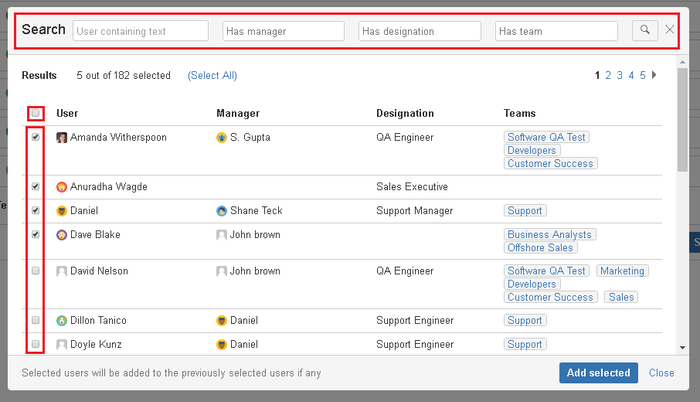
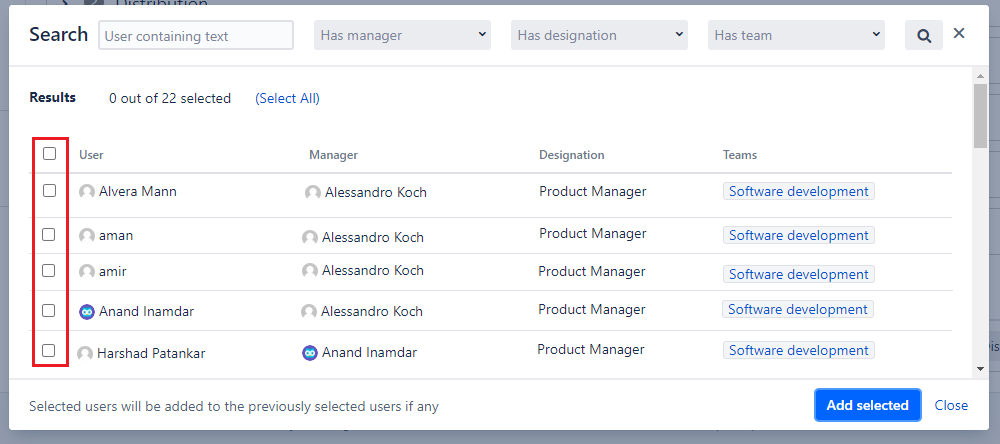
Once you are done with the user selection, by clicking on 'add selected' button you can add selected users to the distribution list and click on the close option to close user selection pop-up.
In the attached example, we've selected a few users from the list. System fetches all users with Employee Success UpRaise access (excluding ones which have been deleted/inactive). Simultaneously managers of corresponding users are retrieved and set in reviewer column. If there is no manager defined in Employee Success UpRaise for a certain user, reviewer column will be empty. For 'HR User' column, the system will select Employee Success UpRaise admin who has created the distribution.
e.g. here only Amanda, Daniel & Dave have their managers defined in Employee Success UpRaise whereas there is no manager assigned for Anuradha. You can simply click and type in the name and choose a manager for her. 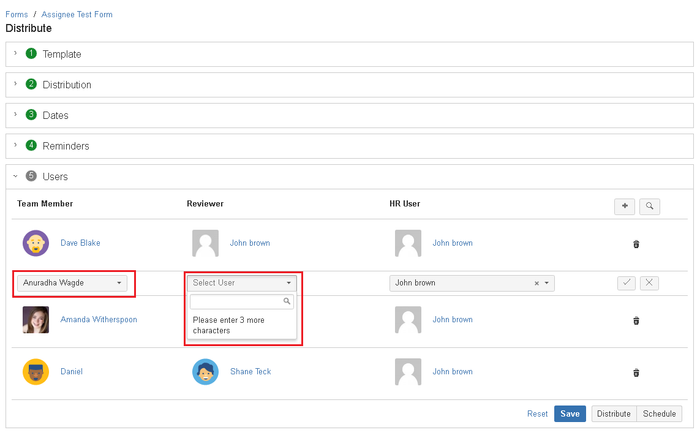
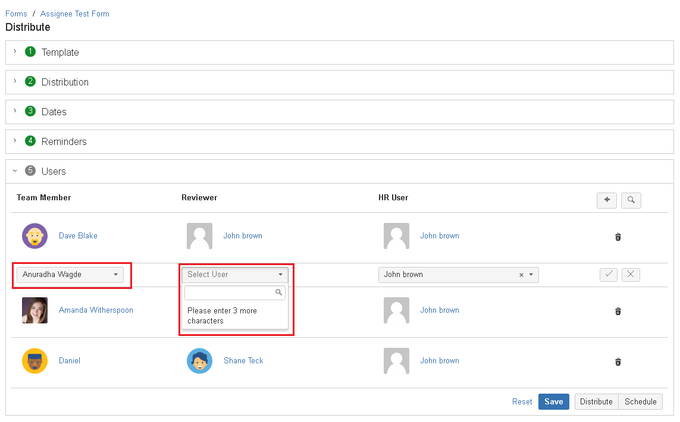
Irrespective of whether a manager exists in Employee Success UpRaise or not, one can create/edit pairs of team member & reviewer. As long as the pair is distinct, the system will allow distribution of the template. e.g. in the above example, if you try to create the same pair of 'Daniel' as team member & reviewer 'Shane Teck' - the system will block you from doing that.
Once all the user pairs are entered, click on 'distribute' and after a confirmation, the template distribution will be queued. All the team members will receive an email notification.
| Note | icon | false
|---|
Once a template is distributed, new users cannot be added or existing users cannot be removed from it. A distribution can only be deleted or closed/opened. |
On this page
| Table of Contents |
|---|
In this section
| Child pages (Children Display) | ||
|---|---|---|
|