Release pages & Widgets are special types of release notes. Given that they work a bit differently, here we are creating step by step guides for getting started. Once you understand how they work, you can do your own customisations on top of what is explained below.
Here’s what the page looks like when there are no release pages or widgets created yet.

Navigation
Release pages and Widgets page is available only on the In-project screen. Navigate to the relevant Jira project >> Click on Autaomated Release Notes under the project’s left navigation >> Click on Release pages & Widgets tab.
Release page - Step-by-step guide
Step 1
Click on Create & you’ll be brought to the following screen. Pay close attention to the information provided.
Release page details section
Name - This is the title of release page that appears to the end user.
Description - This is the subtitle that appears on the release page. (you can keep this one empty if you’d like)
Logo - Upload logo file (use an image with transparent background)
Favicon - Upload favicon of 48x48 size (note that only .ico files are allowed, you can use any online converters for this)
Path - This is the path of your release page. The complete URL will be visible immediately below the textbox.
Load static resource from <yourJirasiteURL>.release.page - Read Choose how the static resources are served for your release page
Release page access - Read Release page access setting (Private, Restricted, Public, Off) for details on the access types.
Release page content layout
Release page template - Read Release page & Widget templates & widget modes
Release details -
Title - You can use one or more variables here. Full list of variables is here - Customising templates with visual builder. This field can be kept empty.
Subtitle - You can use one or more variables here. Full list of variables is here - Customising templates with visual builder. This field can be kept empty.
Issue details -
In this section, one can choose existing Jira issue or custom field. If one wants to use the Jira issue properties where the AI-generated release notes content is stored, one can use those Jira issues properties too. Read Save release notes without Jira fields using issue properties for more details.
Field 1 - Here we have selected Status category
Field 2 - In image we have selected a Jira issue property field to publish AI-generated release notes.
Field 3 - We have picked up Issue type from the selector.
Details
Header background color - Choose color
Header Text color - Choose color
Enable Search on release page - This allows to disable/enable Search option on the release page
Enable anonymous reactions - This allows the users to post their reactions anonymously with Like or Dislike options.
Google Analytics - Add your Google analytics measurement id (G-XXXXXXX) here to enable this feature.
This allows you to track visitor activity on my release pages. This helps to monitor visitor behavior and make informed decisions about how to optimize your content. This will enable you to view metrics such as page views, bounce rate, and time on the page.
Enable anonymous reactions toggle remains disabled by default in below cases -
If user has selected Template 3 for release page
If the release page is private
Enable anonymous reactions toggle remains disabled by default in below cases -
If user has selected Template 3 for release page
If the release page is private
Release page content
JQL - This is the JQL similar to what you use within ARN templates' JQL section. Just use the default one for now.
ARN branding - If you are using Paid app, you will be able to turn it off if needed. For the Free app, it is turned on by default and cannot be changed.
Subscription
Allow new subscribers - Turning this on means that the Subscribe button is available on the release page.
Users with active subscription can also unsubscribe from the release page.
Send updates to the subscribers - If this flag is turned on, you have to choose a release page notification template (configured under the Templates tab) under the next dropdown i.e. Select subscriber email template
Select subscriber email template - Whenever a new release is posted on the given release page, it will trigger this email notification to all the subscribers. Read Release page notification.
Send via email - Here you can either use the default email that is noreply@qa.releasenotes.co or add your email via SMPT settings mentioned here.
Roadmap portal
Check our app https://marketplace.atlassian.com/apps/1221519/roadmap-portal-jira-service-management?hosting=cloud&tab=overview. This app allows you to manage your roadmap portal.
Read Embed release page in Roadmap portal for more details. Once you complete the integration, this section shows the identifier to embed release notes page under the roadmap portal.

Step 2
Now that all mandatory configurations are filled out, click on Save.
Step 3
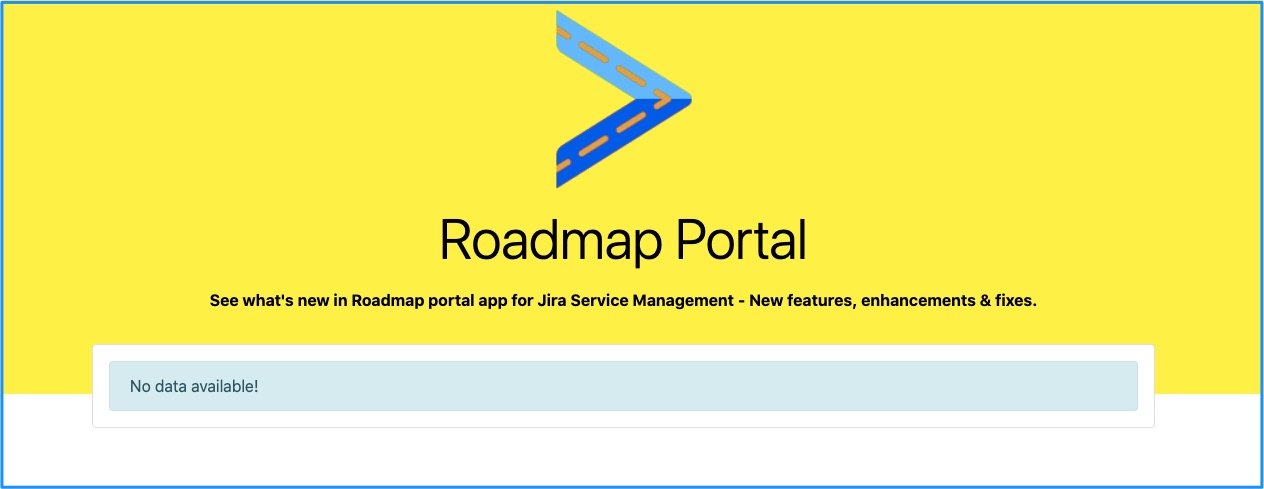
To ensure everything is set up correctly, copy the page URL & open it in a browser tab. Since the release page doesn’t have any releases yet, this is what it will look like.
Step 4
Half the battle is won! Its time to set up the Rule
Now you must set up a rule to populate information on this release page. Head over to the Rules tab & click on Create. Provide the appropriate name for the rule & choose Manual trigger.

Step 6
Click on Add release page action & choose the relevant release page
One can also decide whether subsequent actions should be executed or not if the release notes action fails.

Step 7
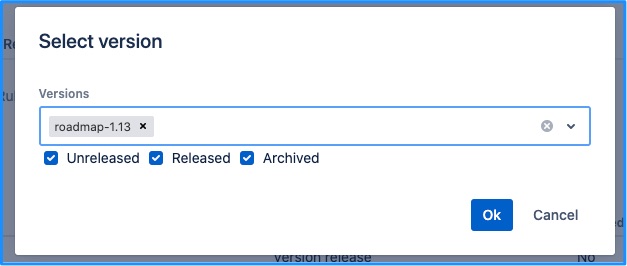
Run the rule manually by providing it with a version
System shows below pop up when you click on ![]() icon on Rule details page to run the rule. Select the version and click on OK. You can use check boxes to get the relevant type of release/s in the dropdown.
icon on Rule details page to run the rule. Select the version and click on OK. You can use check boxes to get the relevant type of release/s in the dropdown.

Step 8
The final step!
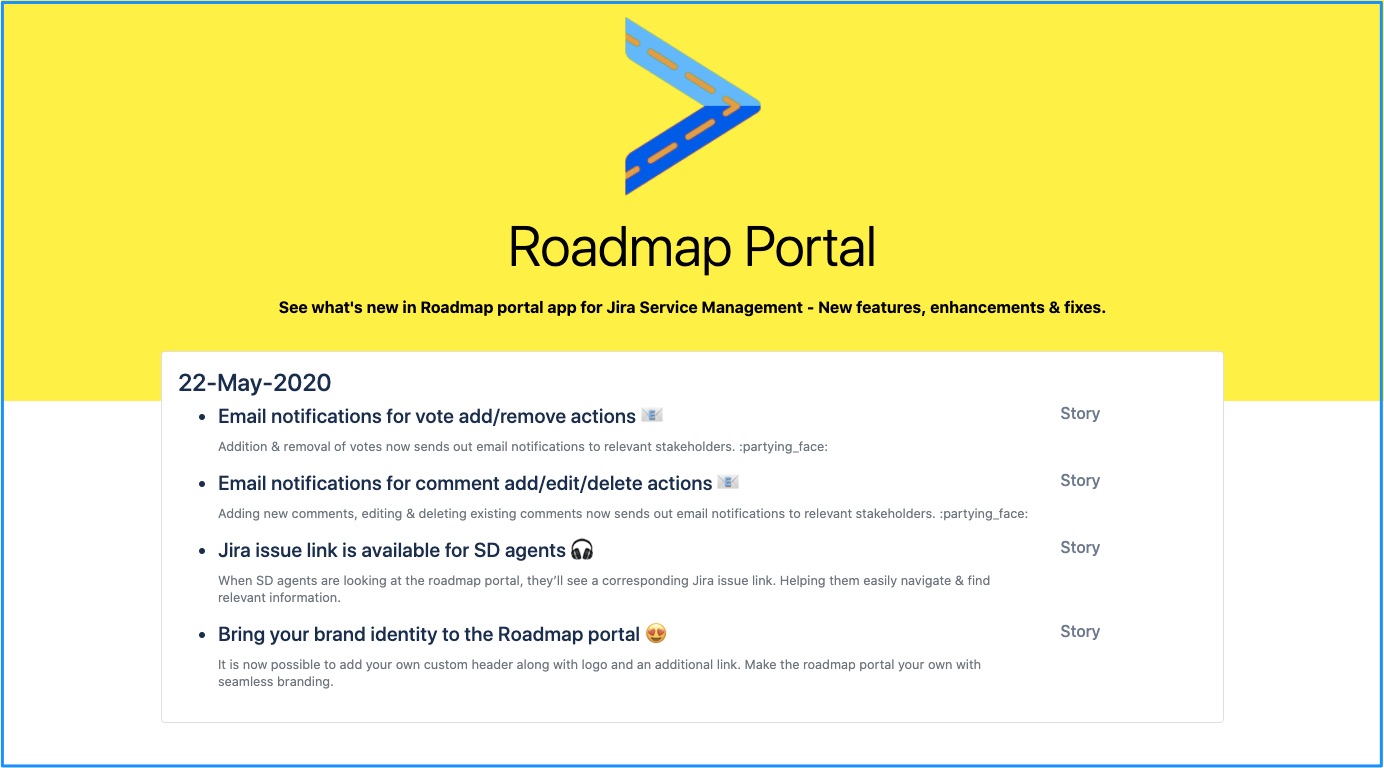
Click on Ok & wait for about 30 seconds for the rule to be executed. (Assuming the selected version has issues associated with it) the release page will now display the data. It will look like the image shown below.
For troubleshooting (If needed), look at the logs tab & see if you see any failure messages
Widget - Step by step guide

Step 1
Click on Create & you’ll be brought to the following screen. Pay close attention to the information provided
Widget details
Name - This is the widget name but unlike release page, it is not visible to the end users
Description - Same as the name, not visible to the end users. And you can keep it empty too
Enabled - Keep it on

Widget content layout
Release details -
Title - You can use one or more variables here. The full list of variables is here - Customising templates with visual builder. This field can be kept empty.
Subtitle - You can use one or more variables here. The full list of variables is here - Customising templates with visual builder. This field can be kept empty.

Step 2
Final set of fields
Issue details
In this section, one can choose an existing Jira issue or custom field. If one wants to use the Jira issue properties where the AI-generated release notes content is stored, one can use those Jira issues properties too. Read Save release notes without Jira fields using issue properties for more details.
Field 1 - In image we have selected a Jira issue property field to publish AI-generated release notes.
Field 2 - We have picked up Issue type from the selector.
Field 3 - Here you can select Status category
Step 3
Choose look & feel related configurations.
In the right section, manager the look and feel related configuration. Here one can configure the Widget mode and designs.
Widget mode
Read more about widget modes here - https://amoeboids.atlassian.net/wiki/spaces/ARN/pages/2391310351/Release+page+Widget+templates+widget+modes#Widget-modes
Design tab
Show default launcher - This toggle identifies whether the widget launcher is available on-screen by default. If disabled, the launcher won’t be displayed until made visible by another action.
Widget launcher label - e.g. Release notes. This is what the button text will be, to open/close the widget.
Widget launcher button size - Small, Medium, Large
Rest of the configurations deal with the look & feel of the widget

Widget content
In the Widget content a JQL is defined that determines what data is populated within the widgets. Every time the widget action is triggered, it will look at the JQL & pull out the relevant issues. Similar to how the JQL section is configured, you can use variables in this text box.

Once the JQL is added, click anywhere outside of the box & ![]() or
or ![]() will be displayed to convey the correctness of the JQL.
will be displayed to convey the correctness of the JQL.
A sample JQL that can be used -
Project = ARN AND issueType = “New Feature” AND fixVersion = “[versionName]”

Embed code
Once all the mandatory information is filled in & Save button is clicked - the Embed code becomes available.

Step 4
Widget content
This is the JQL similar to what you use within ARN templates' JQL section. Just use the default one for now.

Step 5
Click on Save, let the page reload.
Now click on the Embed tab. This is what it will look like.

Step 6
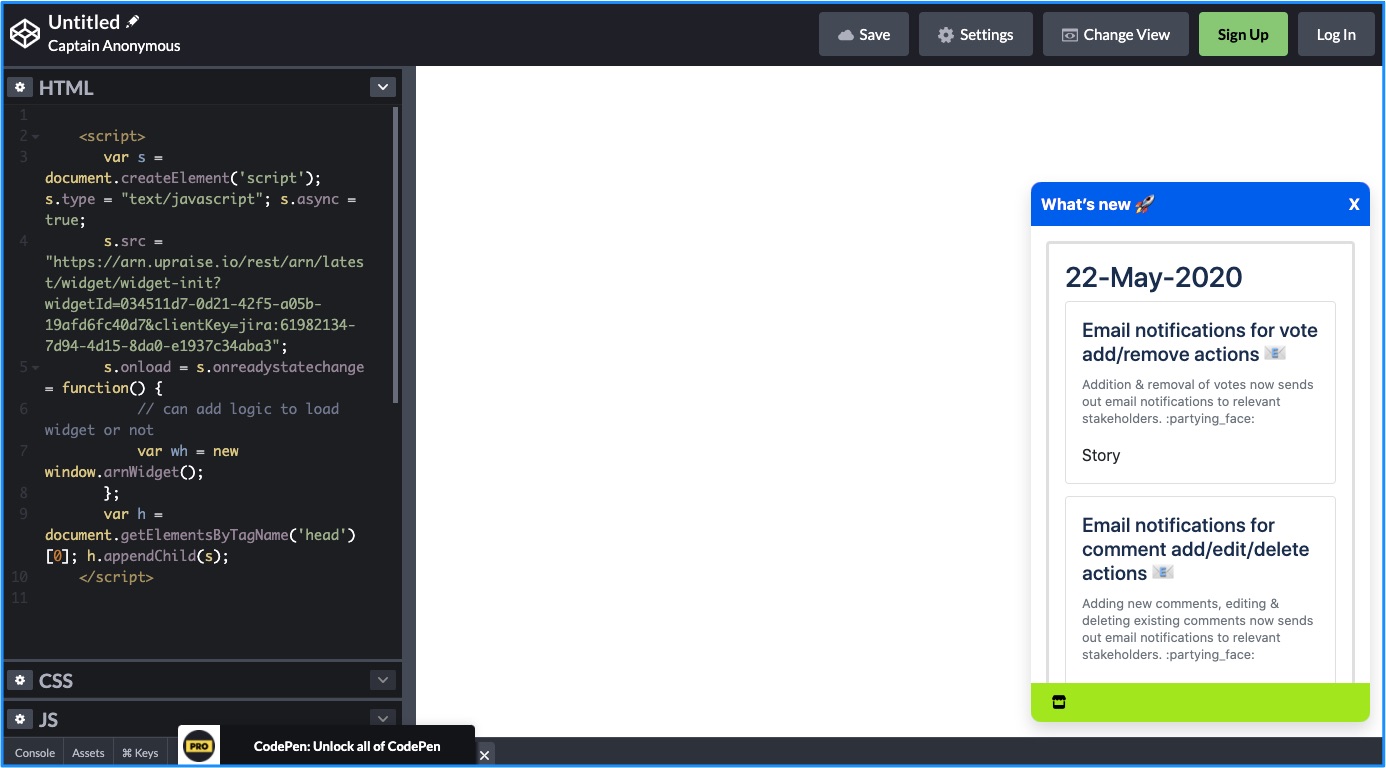
Let us test whether the embed code works
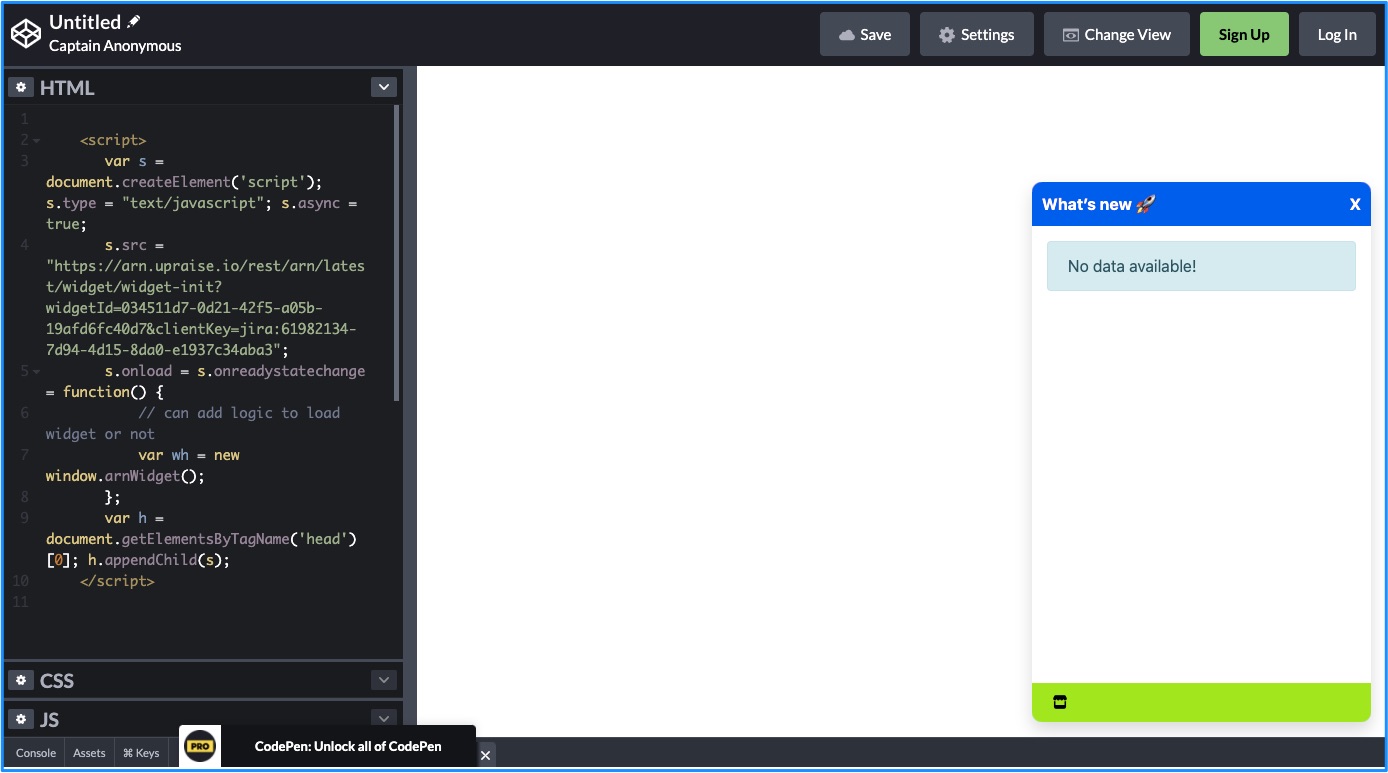
Copy the code. And then head over to https://codepen.io/pen/. In there, paste the copied code into HTML section. In a few seconds, the widget should appear in the preview section. Although it appears, it doesn’t have any release-related data yet.
Step 7
Now create a manual rule & insert widget action inside of it


Step 8
Now run the manual rule by providing it with the relevant version name
Step 9
Let us see the final output!
After running the rule, wait for about 30 seconds & go back to the codepen tab. Refresh the page, and paste the code again into the HTML area. Release notes will now be available within the widget.
