Pdf generation is not working on your server/data center version of Jira?
ARN needs Google chrome installed on the Jira server, for pdf generation. Follow instructions on this page to install chrome - Support docs
If you have chrome installed but ARN is not detecting it, follow the troubleshooting guide.
To customise content of the pdf template, read this - Customising release notes content
Create a pdf template
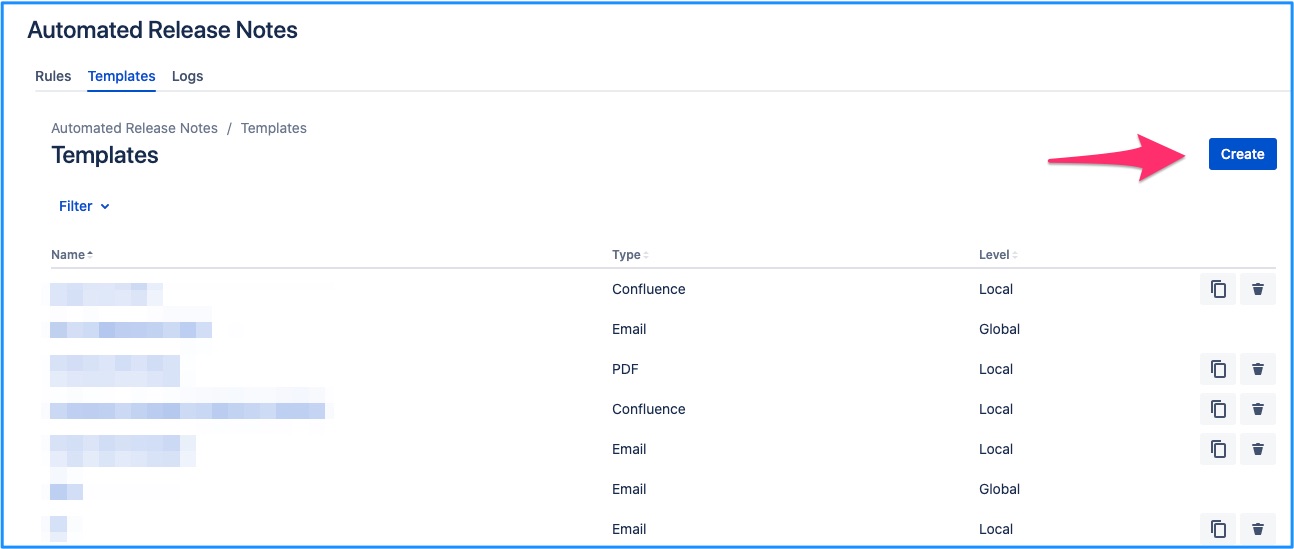
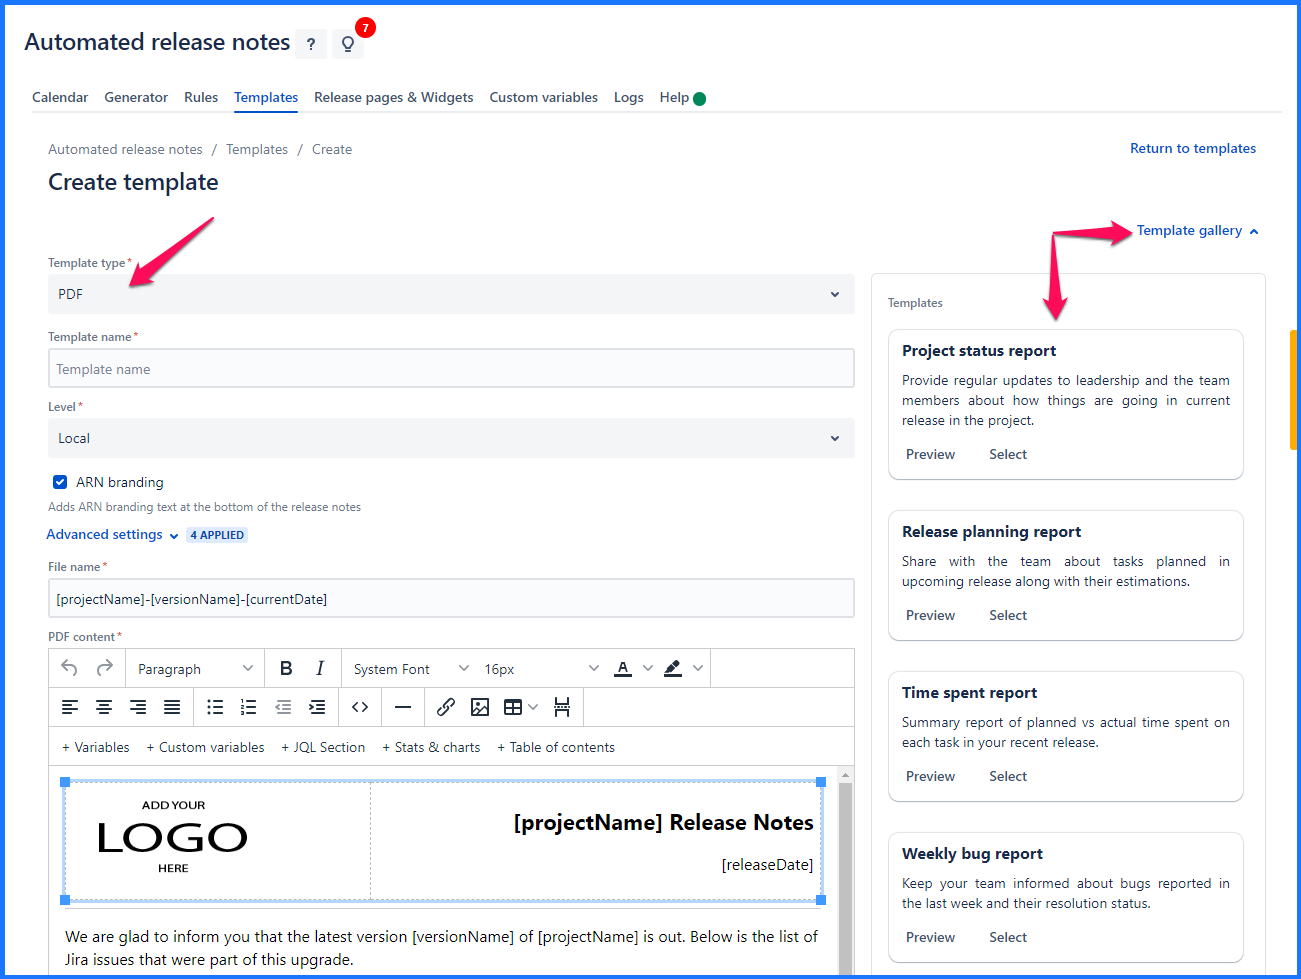
Navigate to the templates page on the ARN screen & click on the ‘Create’ button.
You will be brought to the template creation page where Email will be selected by default. Change the dropdown selection to ‘PDF’.
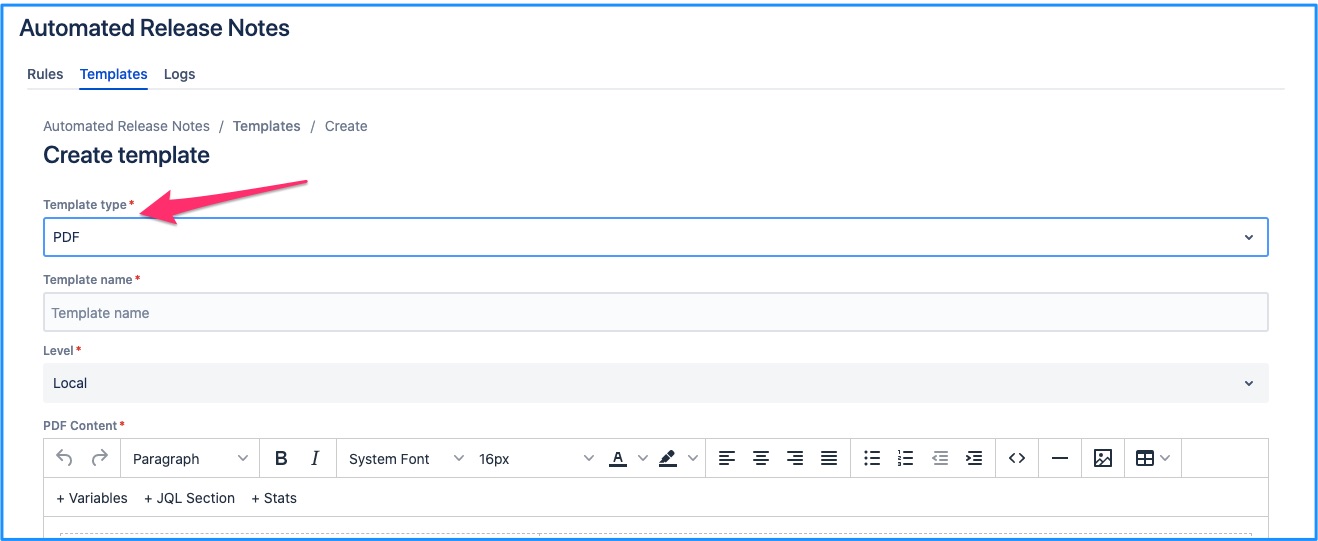
Default template will be populated. Make any required changes & save them to create a new template.
Edit a pdf template
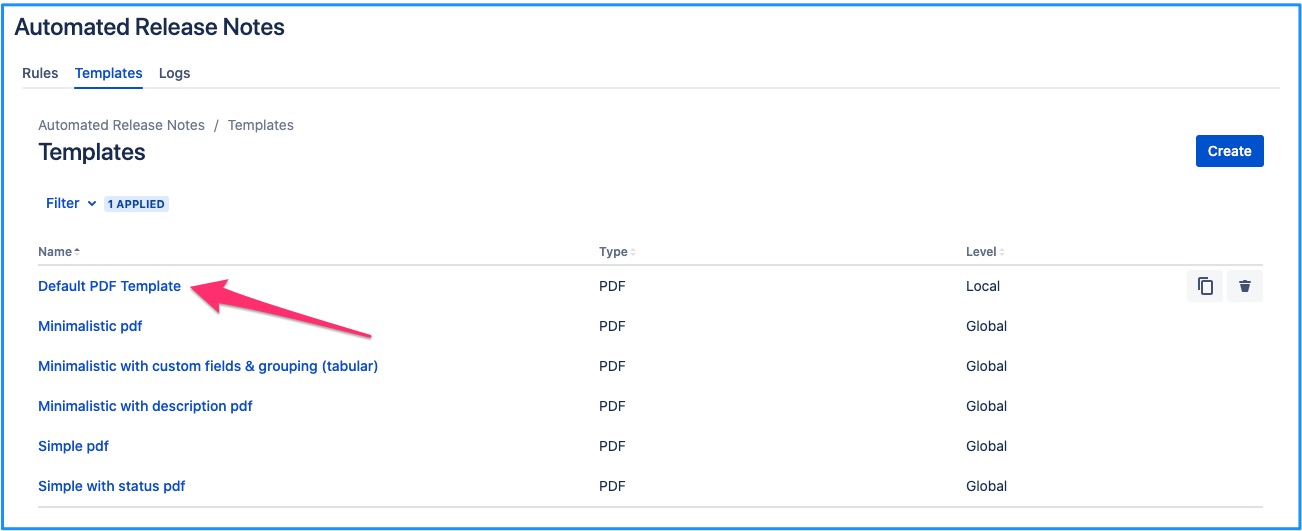
An existing pdf template can be edited by clicking on the template name link from the list.
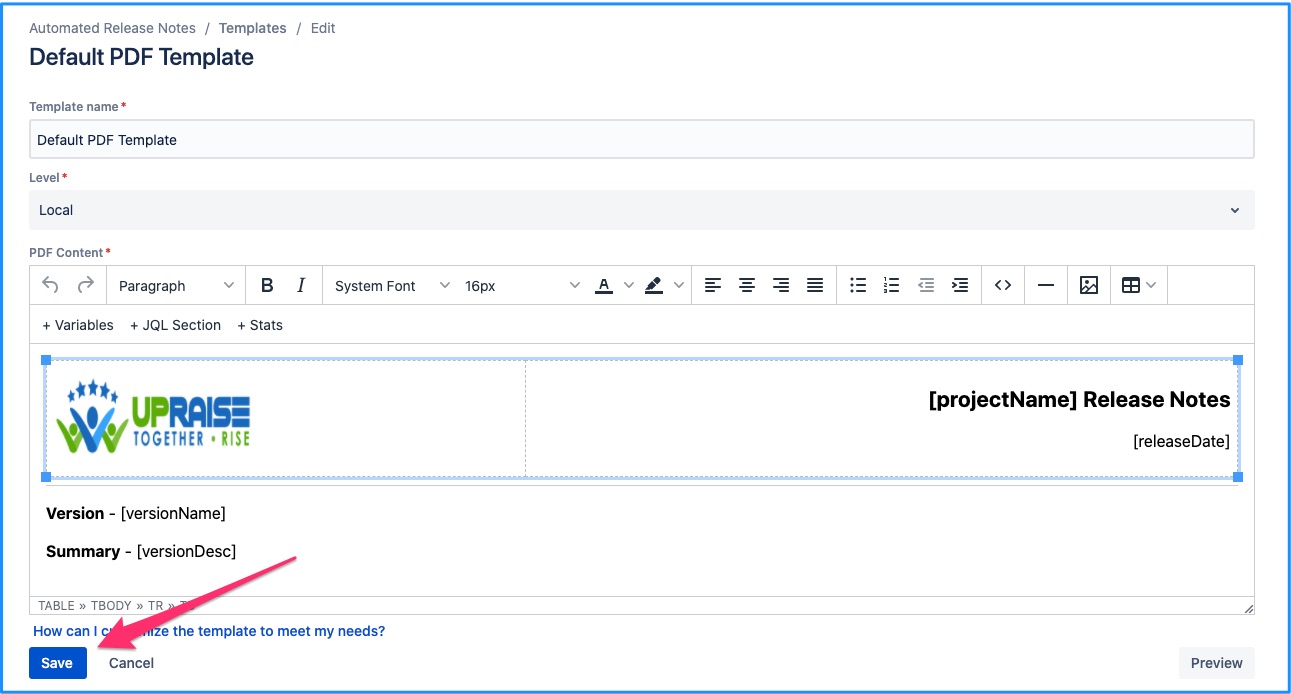
This will bring you to the template edit screen, which is same as that of create - except, data is pre-populated for the current template. Make any required changes, click on save and the template is updated.
Local level templates can always be edited right away. But whether a global template can be edited in the given project depends on where it was created. If it was created within the current project, then it can be edited otherwise it cannot be.
To know more about template levels, read this - https://amoeboids.atlassian.net/wiki/spaces/ARN/pages/204013600/Templates#What-are-template-levels---local-%26-global%3F
Template that can be edited
Template that you can edit will have ‘Save’ button at the left bottom of the screen.
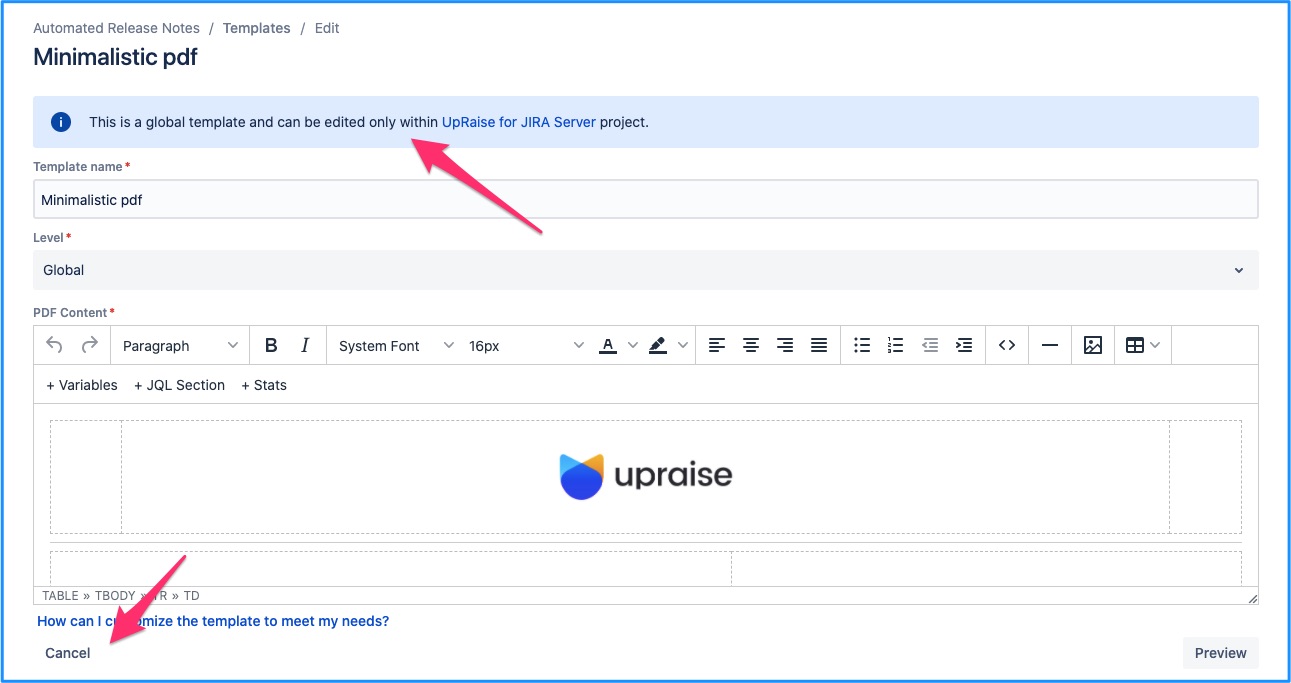
Template that cannot be edited
If the template was not originally created within the current project, then it cannot be edited here. ‘Save’ button will not be available in this case. And an additional message is displayed indicating the parent project for the template.
Delete a pdf template
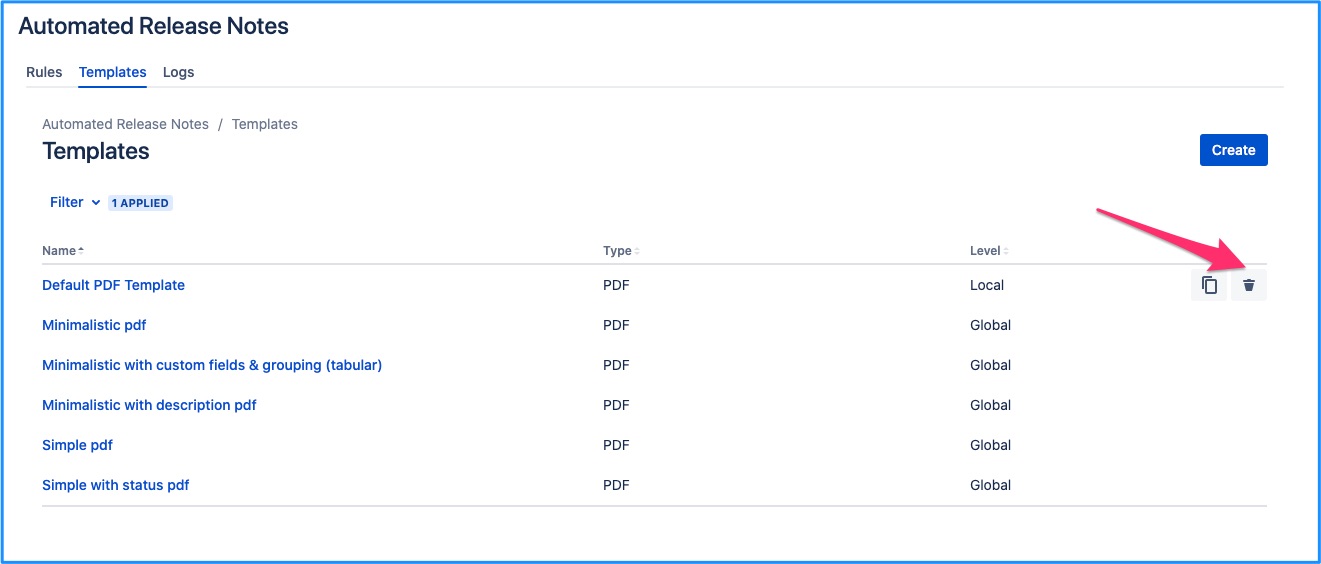
An existing pdf template can be deleted by clicking on the delete icon from the list.
Local level templates can always be deleted right away. But whether a global template can be deleted in the given project depends on where it was created. If it was created within the current project, then it can be deleted otherwise it cannot be.
To know more about template levels, read this - https://amoeboids.atlassian.net/wiki/spaces/ARN/pages/204013600/Templates#What-are-template-levels---local-%26-global%3F
Template that can be deleted
Template that you can delete will have delete button in the right most column of the template list view.
Template that cannot be deleted
If the template was not originally created within the current project, then it cannot be deleted here. ‘Delete’ button will not be available in this case.
Preview a pdf template
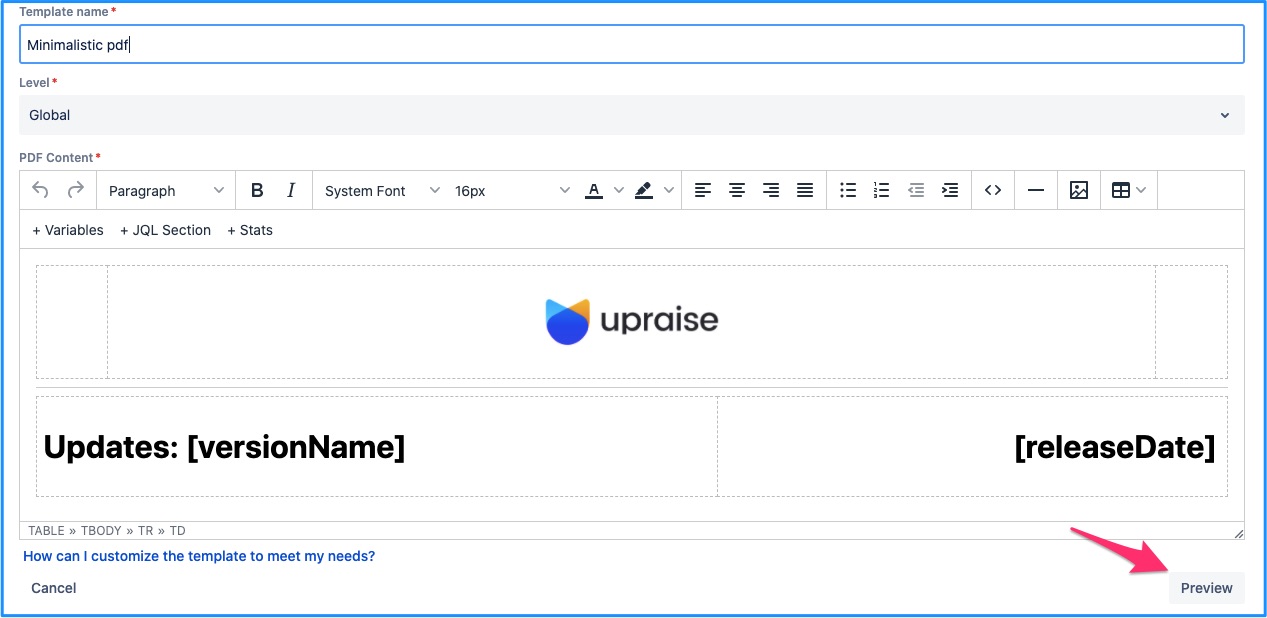
When creating or editing a pdf template, it can be previewed immediately. Just click on the ‘Preview’ button once desired changes have been done.
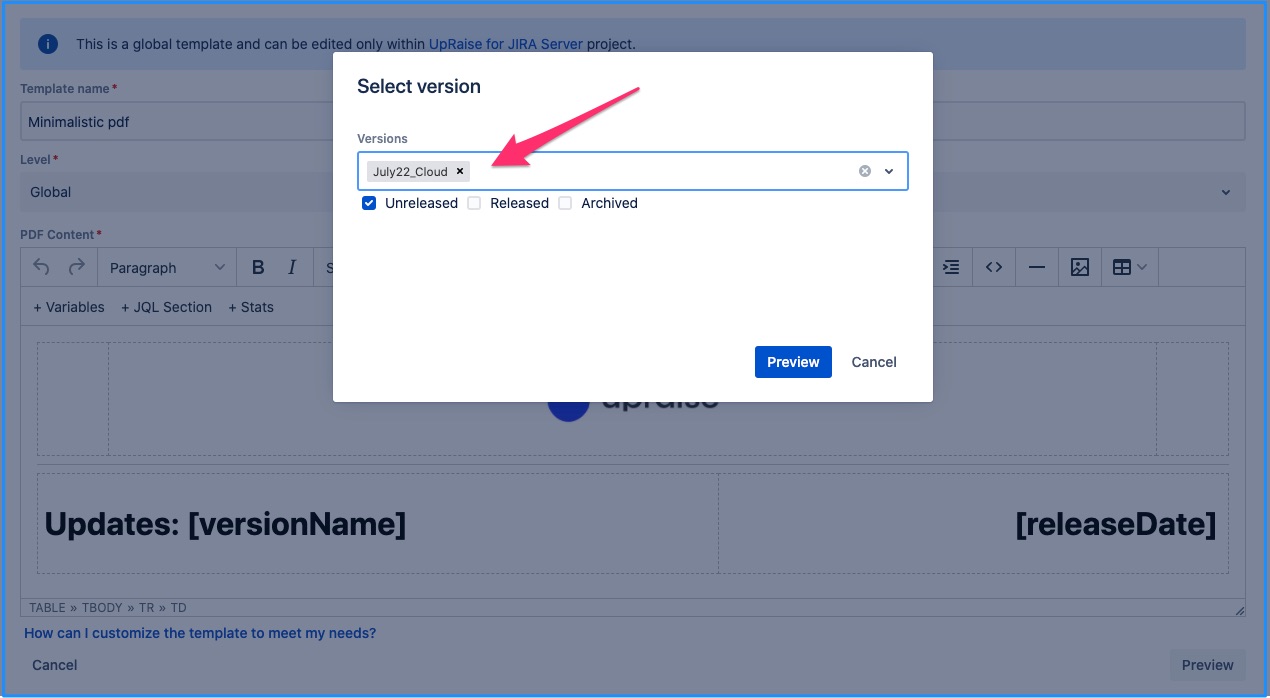
This will open a version selector pop-up. Choose one or more versions and then click on preview.
Versions can be filtered based on their statuses in Jira - Unreleased, Released, Archived. By default, only ‘Unreleased' versions are displayed.
Read on to know more about Generating release notes from multiple versions in a project
This will generate the pdf template preview file in your browser. Depending on your browser setting, it will be automatically downloaded or a confirmation will be asked from you.
If what you see is the desired result, save the template.
Pdf template fields
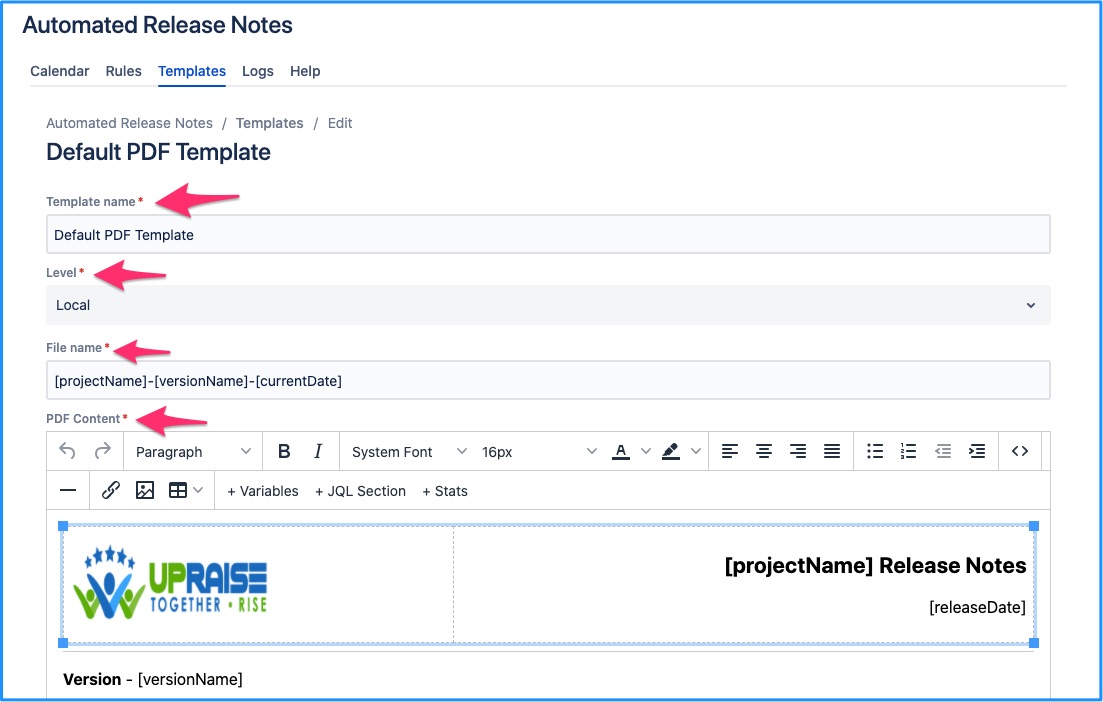
Template name
This is for internal reference & doesn’t show up in the actual release pdf file.
Level
Local or Global - Determines whether the pdf template is available to be used in other projects across Jira.
File name
This determines the name of pdf file that will be generated. You can use variables in this field similar to email subject. Max length is ~100 characters, extra characters will be trimmed at the time of file generation.
Pdf content
The actual release pdf content is generated within the pdf body. Follow below link to know more.
Advanced settings
Advanced settings in the PDF template are for further customisation. Clicking on the advanced settings link brings you options to customise header & footer along with a few other options for your PDF.
Advanced setting
Layout - Whether you want the pdf in portrait or landscape orientation
Paper Size - You get to select the A0-A5 or legal, letter, and tabloid size of the paper here
Margin - Set up a correct margin to display the content(text/images) properly. If you are adding header/footer, you will have to use custom margins of appropriate dimensions.
Header & footer
As shown in the above image, header and footer have an extensive set of options to edit the content. You can format text, add images, tables, links. Align the content in desired manner. Using these options you can add images/logos, website links, etc.
When you add an image, you can adjust the height & width. Also define whether it can adjusted in template editor or not.
When you want to add information related to Jira projects, you can use variables option.
You can also use PDF variables to add date or page numbers.
For example -
In tempate builder -
In PDF -
By using above options, add required information in header & footer, format the content & save.
Make sure that you use custom margins for header and footer.